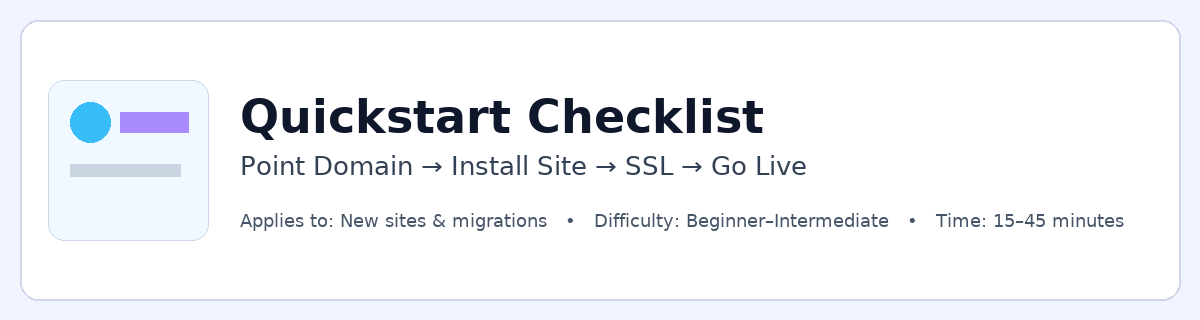
Applies to: New sites & migrations | Difficulty: Beginner–Intermediate | Time: 15–45 minutes
Before you begin
- Have your domain registrar login handy.
- Decide if you’ll use our nameservers or keep DNS elsewhere.
- Know which CMS you’ll install (example below uses WordPress).
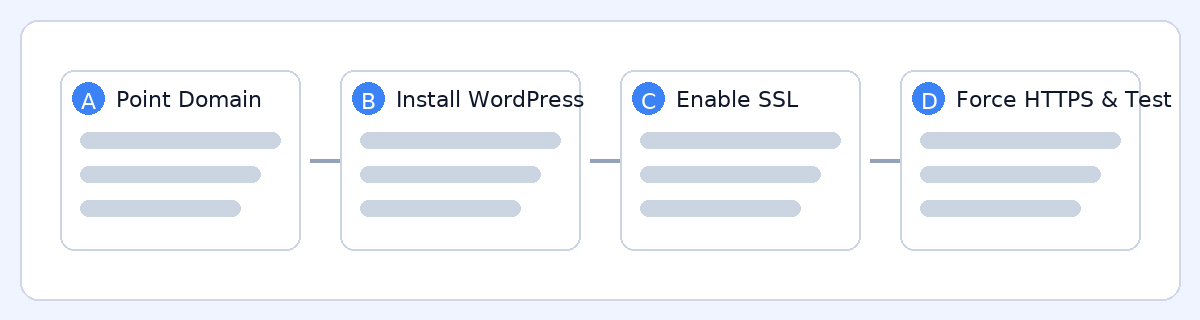
A) Point your domain
![]() Option 1 — Use our nameservers: change nameservers at your registrar to
Option 1 — Use our nameservers: change nameservers at your registrar to ns1.gaugehosting.com and ns2.gaugehosting.com (edit these if yours differ).
![]() Option 2 — Keep DNS elsewhere: create an A record for your root domain and
Option 2 — Keep DNS elsewhere: create an A record for your root domain and www pointing to your server IP (find it in your Welcome Email or in cPanel → General Information).
![]() DNS propagation can take up to 24 hours globally (usually faster). You can work ahead while it propagates.
DNS propagation can take up to 24 hours globally (usually faster). You can work ahead while it propagates.
B) Install your site (WordPress example)
![]() In cPanel → WP Toolkit, click Install WordPress on your domain. Set a strong admin password and username.
In cPanel → WP Toolkit, click Install WordPress on your domain. Set a strong admin password and username.
- (Optional) Create a staging copy to test changes safely.
- Install your theme, essential plugins, and import content if you’re migrating.
C) Enable SSL
![]() Once the domain points to our server, go to cPanel → SSL/TLS Status and run AutoSSL (or wait ~15 minutes for it to issue automatically).
Once the domain points to our server, go to cPanel → SSL/TLS Status and run AutoSSL (or wait ~15 minutes for it to issue automatically).
- Visit https://yourdomain.com and confirm the padlock.
- If you see mixed-content warnings, proceed to step D to force HTTPS and clean links.
D) Force HTTPS & final checks
![]() In WordPress, update Settings → General so both “WordPress Address (URL)” and “Site Address (URL)” start with
In WordPress, update Settings → General so both “WordPress Address (URL)” and “Site Address (URL)” start with https://.
- Add a redirect to force HTTPS (plugin or
.htaccess). Example.htaccesssnippet for Apache:
# Force HTTPS
RewriteEngine On
RewriteCond %{HTTPS} !=on
RewriteRule ^(.*)$ https://%{HTTP_HOST}%{REQUEST_URI} [L,R=301]
- Update any hard-coded
http://links (use a search/replace plugin if needed).  Final checks: test key pages/forms, admin login, and email send/receive.
- Create a manual backup now that the site is clean.
- Turn on auto-updates (or schedule managed updates).
Visual overview